EQ for Beginners
Now that recording audio and video is accessible to almost everyone, learning a little about mixing can help your content stand out from the crowd. The single most important edit to any sound recording is Equalization (EQ). Correctly using it gives your work a professional, polished sound! Check out this guide if you are a musician, sound tech, videographer, social media content creator, and more!
The Tools
There are a ton of apps and programs that allow you to adjust EQ. Fortunately, the principles of it are the same across every platform. While other programs intended for video editing may include EQ, Digital Audio Workstations (DAWs) offer the most utility for music and audio. The most popular ones, in no particular order, are Logic Pro X (Apple Devices only), Garageband (Apple Devices only), Reaper, Cubase, Avid Pro Tools, Ableton, and Audacity. My favorites from this list are Reaper due to its incredibly low cost and Audacity because it is free. It’s also a workhorse and a very light program that works across many devices. My personal choice is Logic Pro X, but that’s only because I learned it first.
If you're interested in learning more about Logic Pro X (especially if you're a beginner), check out this awesome guide by our friends at SoundsWow, an excellent resource for home recording, audio learning, and music making.
Note: There are many ways to access the use of DAWs through free trials and other… less legal… means. If you are brand new, don’t go out and buy a full version of one of the expensive ones. Sign up for a trial or stick with Audacity for now.
Steps for EQ Setup:
- Take a recording of an acoustic sound in your DAW of choice. Use a good quality microphone and try to capture the sound as cleanly as possible at the source. This recording could be an instrument, the human singing voice, or even spoken word. Avoid digital instruments for now as most are already EQ’d and edited for general use. Ensure that the signal is hot enough for you to see and hear the waveform completely.
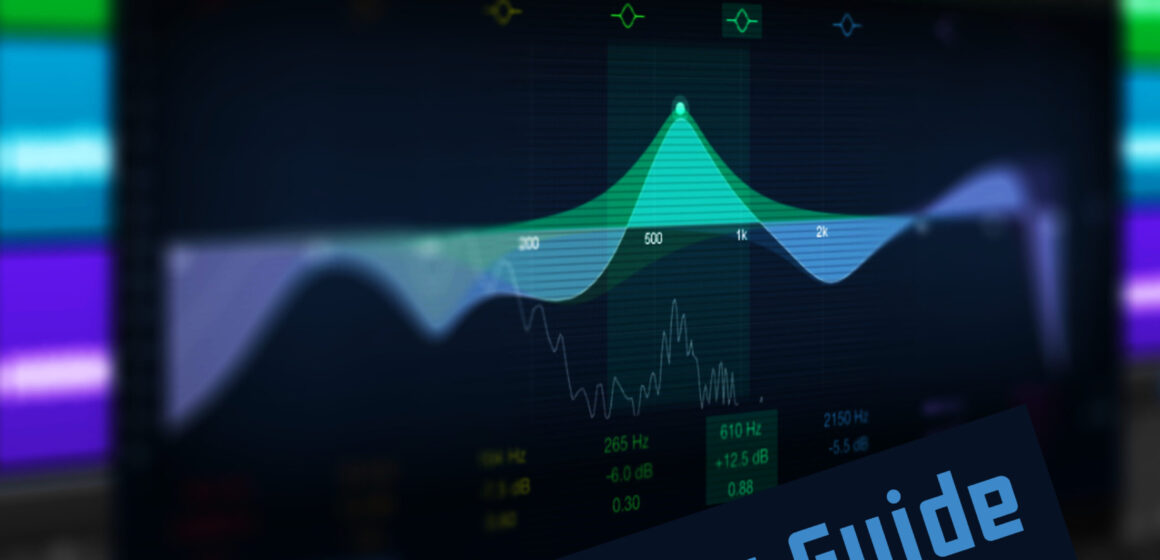
- Load or access the EQ plugin on your DAW. This should display a flat horizontal line. Be sure that the plugin is turned on! This is what EQ looks like in Logic Pro X.
- If possible, turn on live tracking so that you can see the shape of the soundwave on playback. This isn’t necessary, but it helps identify troublesome frequencies.
- Play around! Without reading further, apply peaks, valleys, and shelves to the sound signal. The horizontal line will change to a wave, cliff, or whatever you set it to. You’ll notice that the sound of your recording will change a lot. Try to break it and make it sound crazy on purpose – this is the best way to learn the breadth of EQ before we dial it back.
Refining EQ:
Now that you’ve played around and heard what EQ can do, let’s discuss some common tricks for cleaning up the sound of your recording. Why is this important? There are a lot of frequencies in the audio spectrum that don’t need to live in your finished product. Too many will make your project sound muddy or not as crisp as it could be. Almost every single sound sample or track on your favorite song has a generous heaping of EQ applied – that’s why it sounds so good, after all!
Note: EQ adjustment involves both boosting and cutting certain frequencies to clean up the sound of the recording. Boosting refers to increasing a frequency, and cutting is reducing one. An EQ curve that looks like a bell would have cuts on the low (left) end, boost in the center, and cuts on the high (right) end. Frequency is measured in Hertz (Hz).
- The Low End: It’s always a good idea to limit the sub-frequencies of any recording. This includes low sounds like a bass drum or bass guitar. Select a steep shelf with your EQ program and cut off all frequencies below the 40Hz mark. This will prevent rumble and bass echo. Higher-pitched instruments or sounds can benefit from starting the cut-off higher, like around 80Hz.
- The High End: Experiment with using shelves at the high end as well. Low instruments like a bass guitar may require a high cut to eliminate noise and digital artifacts from the recording process. Acoustic instruments and voices may benefit from using a high-shelf boost. This opens up the frequency spectrum and can give the recording more headroom. This means that it sounds more open and airy.
- Undesirable Sounds: Listen to your recording and try to pinpoint any specific sound characteristics that you don’t like. This might be a howl or hum if the microphone was placed too close to the sound source. It could also be microphone feedback or sibilance, that annoying harshness that comes through when singers pronounce the “s” sound too clearly. Select a steep valley shape on the EQ and slowly drag it through the remaining audio field. The goal is to cut the sound sample until the undesirable sound goes away or gets to be as reduced as possible.
- General Balancing: It is common for the recording to sound a bit off-balance. Maybe there is too much bass or it sounds a little hollow. Select a gentle EQ valley shape and start by reducing the ranges of the audio field that are too pronounced. If that doesn’t cut it (pun intended), select a mountain shape and boost the opposite frequency range. For example, I may very slightly boost the bass on a guitar recording while simultaneously cutting the treble range, giving it more weight and heft.
- Refine: Play back the sample many times and make your final adjustments. You may need to apply the recording to the final project to see how it sits in the mix, or how it reacts to other elements of your project.
Note: Listening on car speakers is often the most reliable way to hear what’s really going on. Take a drive and take mental notes of what may still need to be adjusted.
EQ Tips:
Now that you’re on your way to using EQ effectively, keep these tips in mind:
- If it sounds good, it is good. Don’t get caught up in what the EQ field “should” look like. Some recordings may require very little adjustment and some may require a TON. This is particularly valid if you are EQ’ing live sound. Use your ears!
- Avoid comparing your progress to the pros. The big professional sound engineers have years of experience and can really hear the difference between the slightest EQ adjustments. You’ll get there with practice. The vast majority of people on this planet will never be able to hear as articulately as those engineers can – so don’t sweat it.
- Blind tests are your friend. If you’re in a bind, copy your recording and apply a different EQ to it. Listen back to compare, or ask a friend to alternate between options so that you aren’t able to rely on bias.
- Use fresh ears. Work on a project until you get tired, then come back to it the next day or later. Taking a break almost always reveals changes that you weren’t able to hear previously.
- Remember the mottos. There are two excellent phrases that help when using EQ or any sound project, and they both mean the same thing:
- Projects are never finished, they are only abandoned.
- Perfect is the enemy of good.
It’s a Wrap!
I hope that this tutorial gave you the confidence to experiment with using EQ on your content. Stay tuned for future Knowledge Blog articles about other mixing and recording tricks! Check out this cheat sheet and this other cheat sheet to see some EQ curves for common instruments. These are great templates and usually help you get close to the sound that you want to hear – just adjust them to taste!
Note: When I was learning, I printed a bunch of these and kept them near my desk. You’ll memorize the shapes with enough practice! It’s also great to start with templates that exist in your DAW. 🙂

